


Setup
Setting an IP Address in the Drive
The IP settings for the EtherNet/IP fieldbus ports are setup separately from the WorkBench service port. They are managed with the commands EIP.IPADDRESS, EIP.IPSUBNET, EIP.IPGATEWAY, and EIP.IPMODE.
Once the commands are set, they must be applied with EIP.IPRESET or DRV.NVSAVE. The drive should now be able to communicate on the EtherNet/IP network.
DRV.INFO and EIP.INFO can be used to view the currently active settings. The active settings may differ from the commands if the settings have not been applied with EIP.IPRESET or DRV.NVSAVE.
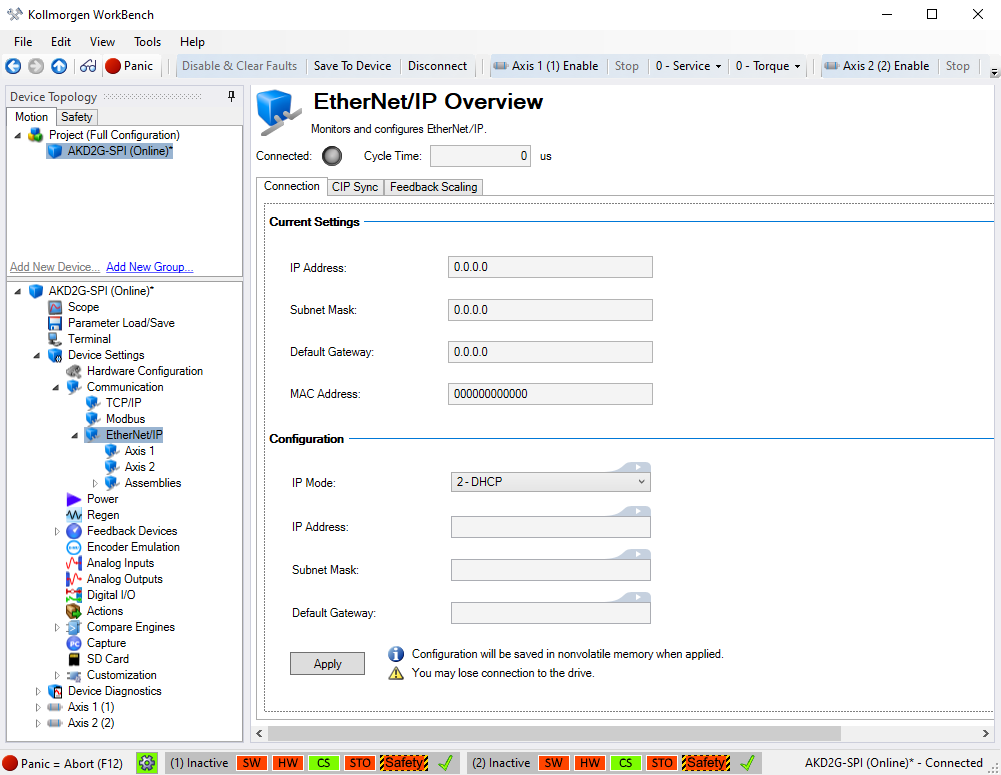
Setting an IP Address using WorkBench
- Set IP Mode to Static, BOOTP, or DHCP.
If using a Static address, you will need to set the IP Address, Subnet Mask, and Default Gateway. - Click Apply.
Controller Setup
Some controllers require an Electronic Data Sheet (EDS file) for configuring an EtherNet/IP node.
- Standard Assembly and Free Mapping Assembly: The EDS file is not required when using Rockwell PLCs and are setup as a Generic Ethernet Module.
- CIP Sync: The EDS file and EDS Import Wizard are required for use with the CIP Sync Assembly.
- The AKD2G EtherNet/IP EDS file can be found on the Kollmorgen website.
The IP address of the controller must be set to the same subnet as the AKD2G.
The controller will need to be setup to know the IP address of the AKD2G. The process required will vary by controller.
Setting Expected Packet Rate in the Controller
The controller is responsible for setting the Expected Packet Rate (EPR) at which the AKD2G and controller will send cyclic messages.
The fastest supported cyclic rate for EtherNet/IP on AKD2G is 1 millisecond.
If the rate is set to too short of a time, communication may timeout between the drive and controller, resulting in fault F7000 Fieldbus Communication Lost. In this case, the EPR should be set to a larger value.


