OPC UA - Server dialog box
Usage
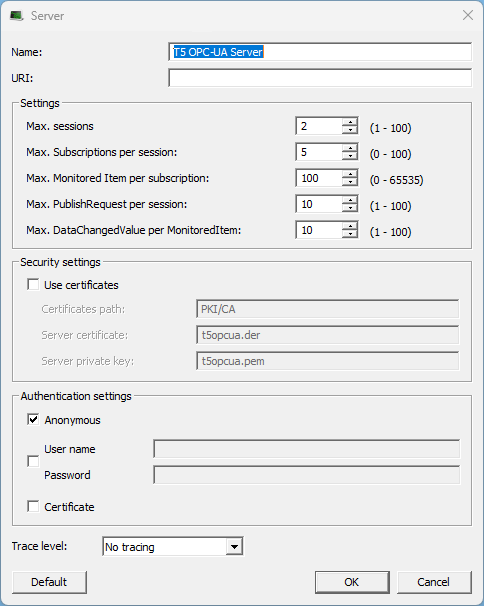
The Server dialog box is used to define the application settings for the OPC UA Server.
Access
- In the Project Explorer, double-click the Fieldbus node to open the Fieldbus Editor.
- On the vertical toolbar, click the Insert Network (Configuration) button (
-btn.png) ).
).
The Add Configuration dialog box opens. - In the Select a configuration tree, select OPC UA Server. (Figure 1)
- Click OK to save the changes or selections and close the dialog box.
The Server dialog box opens. (Figure 2)
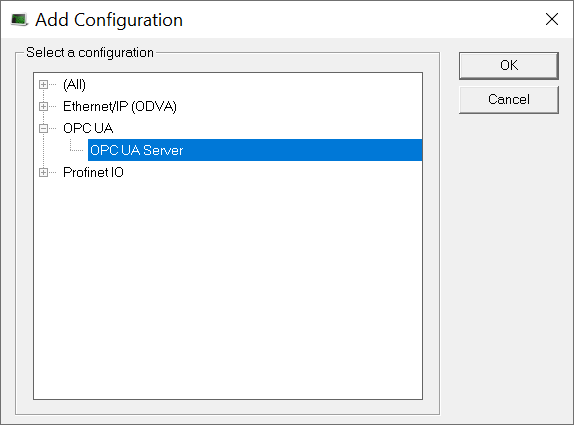
Figure 1: Add Configuration dialog box - OPC UA Server selected
Dialog box Description
|
Section |
Element |
Description |
|---|---|---|
|
|
Name text box |
|
|
|
URI text box |
|
|
Settings section |
Max. Sessions spin box |
|
|
|
Max. Subscriptions per session spin box |
|
|
|
Max. Monitored Item per subscription spin box |
|
|
|
Max. Publish Request per session spin box |
|
|
|
Max. Data Changed Value per Monitored Item spin box |
|
|
Security settings section |
Use certificates check box |
|
|
|
Certificates path text box |
|
|
|
Server certificate text box |
|
|
|
Server private key text box |
|
|
Authentication settings section |
Anonymous check box |
|
|
|
User name/Password check box |
Click the User name/Password check box to activate the User name and Password text boxes. |
|
|
User name text box |
In the User name text box, enter a user name restricting the access to the server. |
|
|
Password text box |
In the Password text box, enter a password restricting the access to the server. |
|
|
Certificate check box |
Click the Certificate check box so the server allows the client to authenticate with a certificate. |
|
|
Trace Level list box |
The options are:
|
|
|
Default button |
Click Default to reset all changes or selections back to the default settings. |
|
|
OK button |
Click OK to save the changes or selections and close the dialog box. |
|
|
Cancel button |
Click Cancel to discard all changes or selections and close the dialog box. |


