Add and Configure a Servo Drive
-
- Select the Add Device... command.
This option is disabled when you are connected to the controller and an application is running. - Select the specific servo drive model to add. (Figure 1)
-
-
- When choosing any of the Kollmorgen Servo Drives, be sure to select the newest revision.
- Older revisions may show in the list of options, but they may not be feature complete.
- If a specific revision number is required, select it from the drop-down list in the Revision column.
- The default selection is the highest revision number.
- Click OK to save the changes or selections and close the dialog box.
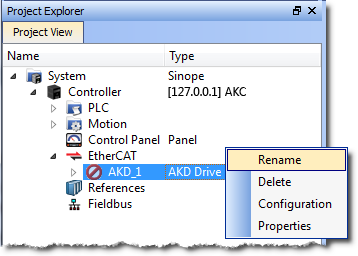
See Kollmorgen Servo Drives. - In the Project Explorer, right-click the device node and select the Rename command. (Figure 2)
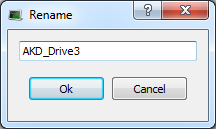
- Define the name for the new device.
The name is limited to 10 characters and can only include letters, numbers, and underscores. (Figure 3) - Click OK.
- Continue with Add and Configure Third-party EtherCAT Devices.

Figure 1: EtherCAT Device Selector dialog box
When an Kollmorgen AKD Series Servo Drive is added to the project tree, it must be mapped to a physical drive.
-
-
An alternative method to add a drive is to rely on the auto scan feature.


