OPC UA - Establish Server Connection without Certificates - Exor HMI
- Verify the OPC UA - Exor HMI Installation procedure is completed.
- Start the KAS-IDE.
- Create a KAS project using an OPC UA Server configuration.
See OPC UA - Create New Driver Configuration. - Create a new KAS project using any application template.
- Configure the controller for the project as a PCMM2G.
- In the KAS-IDE Fieldbus Editor, create a valid OPC UA Server configuration with “Anonymous” authentication setting enabled and several PLC variables assigned to it.
- Compile and download the project to a PCMM2G controller.
- Start the KAS project.
- Launch JMobileStudio.
- Start a new project for the Panel type you have available.
This example procedure uses eSmart10. (Figure 1) - Click Finish.
The wizard closes and the ProjectView window opens. - In the ProjectView tree, in the Configuration section, select Protocols.
- On the ProjectView toolbar, click the + button to open the Protocols tab.
- In the Protocols tab > PLC column, click the drop-down arrow and select OPC UA Client.
The OPC UA Client dialog box opens. - In the Host text box, enter the PCMM2G IP address.
- Accept the defaults for all other parameters. (Figure 2)
- Click OK to save the changes or selections and close the dialog box.
The ProjectView window returns. - In the ProjectView tree, in the Configuration section, select Tags.
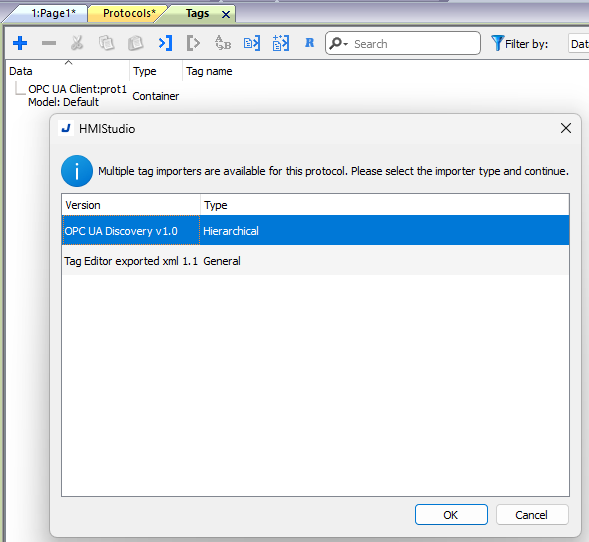
The Tags tab opens. - On the Tags toolbar, click the >] button.
The HMISudio dialog box opens. - Accept the default selection of OPC UA Discover v1.0. (Figure 3)
- Click OK to save the changes or selections and close the dialog box.
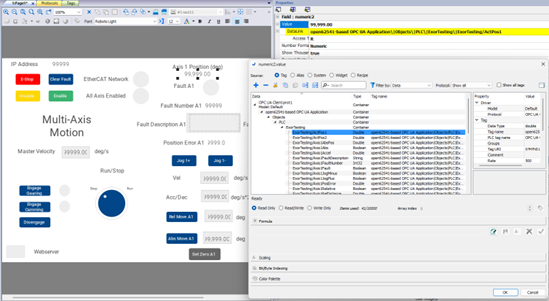
This imports the dictionary from PCMM2G host. - Click the Full Browse button.
The OPC UA Server Certificate dialog box opens. - Click the Accept Temporarily button. (Figure 5)
- In the Symbols found scroll box, verify all Tags setup in the KAS-IDE Fieldbus Editor have been found.
- Optional: Clear the check boxes of any variables that are not applicable.
- Click OK to save the changes or selections and close the dialog box.
- Click OK to close the confirmation message.
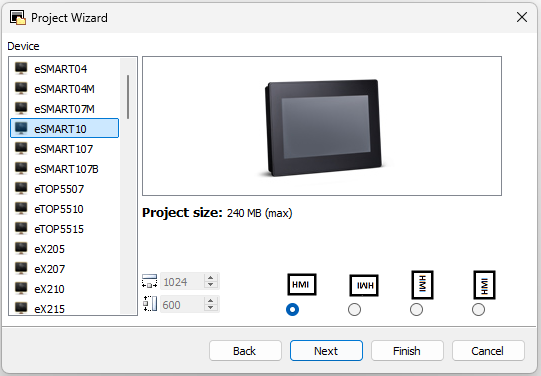
Figure 1: Exor Project Wizard - eSMART10
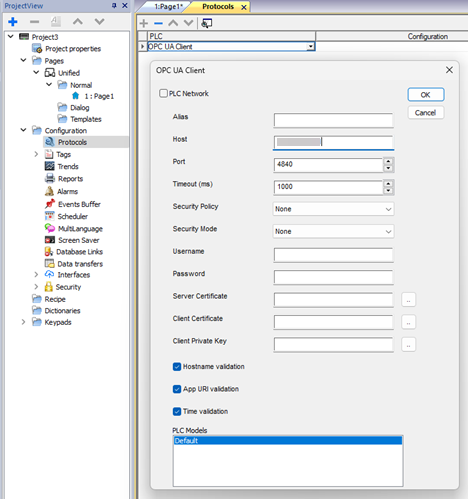
Figure 2: OPC UA Client dialog box
The OPCUA Client importer dialog box opens. (Figure 4)
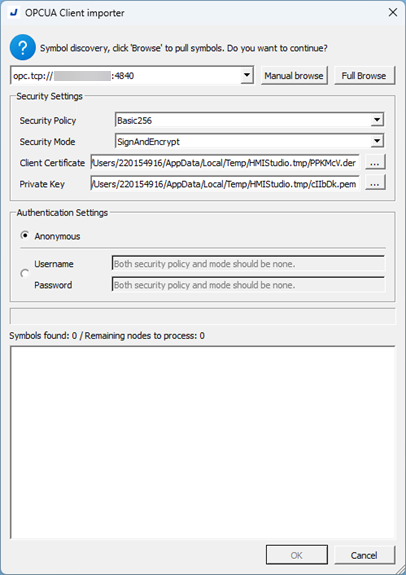
Figure 4: OPC UA Client Importer dialog box
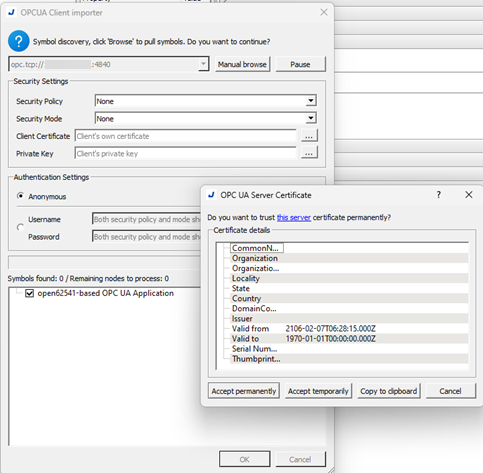
Figure 5: OPC UA Server Certificate dialog box
The OPC UA Server Certificate dialog box closes.
The OPCUA Client importer dialog box returns. (Figure 6)
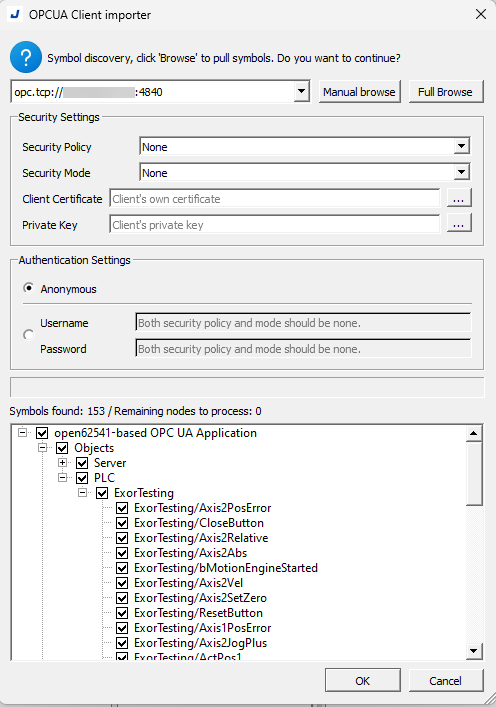
Figure 6: OPCUA Client importer dialog box
If successful, a confirmation message appears.
This message shows the number of imported tags. (Figure 7)
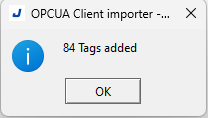
Figure 7: Imported tags confirmation message.
The Tags tab is populated with all imported tags from the KAS-IDE Fieldbus Editor. (Figure 8)
These Tags can be used with objects in the Exor panel screens.
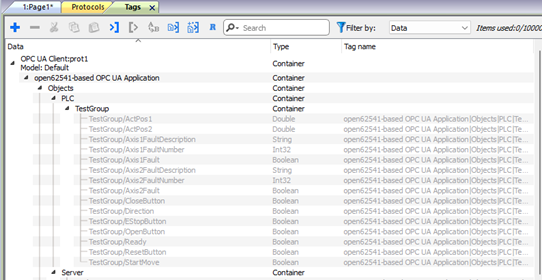
Figure 8: Tags tab populated with all imported tags
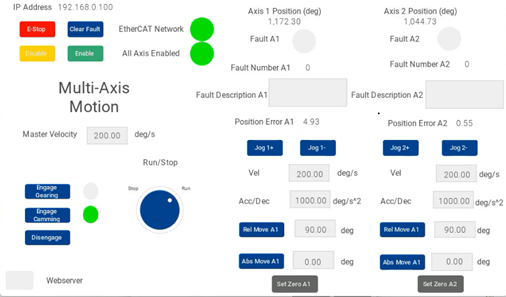
In the Page tab, the setup screens can now select object and add imported tag to DataLink parameter. (Figure 9)
Example: Figure 10 show the screen running an eSmart10 panel with objects mapped to tags through OPC UA.
See Also


